

Using 32-bit VSTs
Most people are using 64-bit DAWs (digital audio workstations) these days. This tutorial is all about using 32-bit VSTs.
The problem is they’re not able to run older 32-bit VSTs. If you’re like me you’ve probably got a few older 32-bit plugins you’ve grown rather fond of and want to continue using.
After all, no one expected us to throw away our old Minimoogs. A lot of these older 32-bit VSTs are no longer available and no longer supported anyway. So what do you do?
Well, fortunately, there is one easy way to bring your 32-bit plug-in back to life. I’ve used this method to use my favourite plugins and so far I haven’t found one that won’t work yet, and yes I do realise that by saying that I’m tempting fate. The next plugin I try won’t work!
JBridge
So come on I hear you say, just tell us what you do. I’m using Ableton Live and the current version is 11.
I’ll show you the steps I’ve taken so you can follow exactly and adapt them to your own needs. First, you need jBridge.
It is cheap and easy enough to install. I’ve made a video if you want to watch that or you can follow along with this tutorial.
The example I’m showing you hear is the excellent Virsyn Cube 2 software synthesiser. It’s an additive synthesiser that can do resynthesis and I got too fond of it to stop using it.
I’ve installed the program and the VST plugin has gone to the correct folder which is the “Steinberg” folder but on running Ableton Live the program doesn’t see it as a plug-in ( it won’t 32-bit).
Installing jBridge
Download, double click and agree to the terms and conditions.
Click on install and the program will be installed to the destination folder. Click on finish and the read me documentation will be shown. This should only take a few seconds.
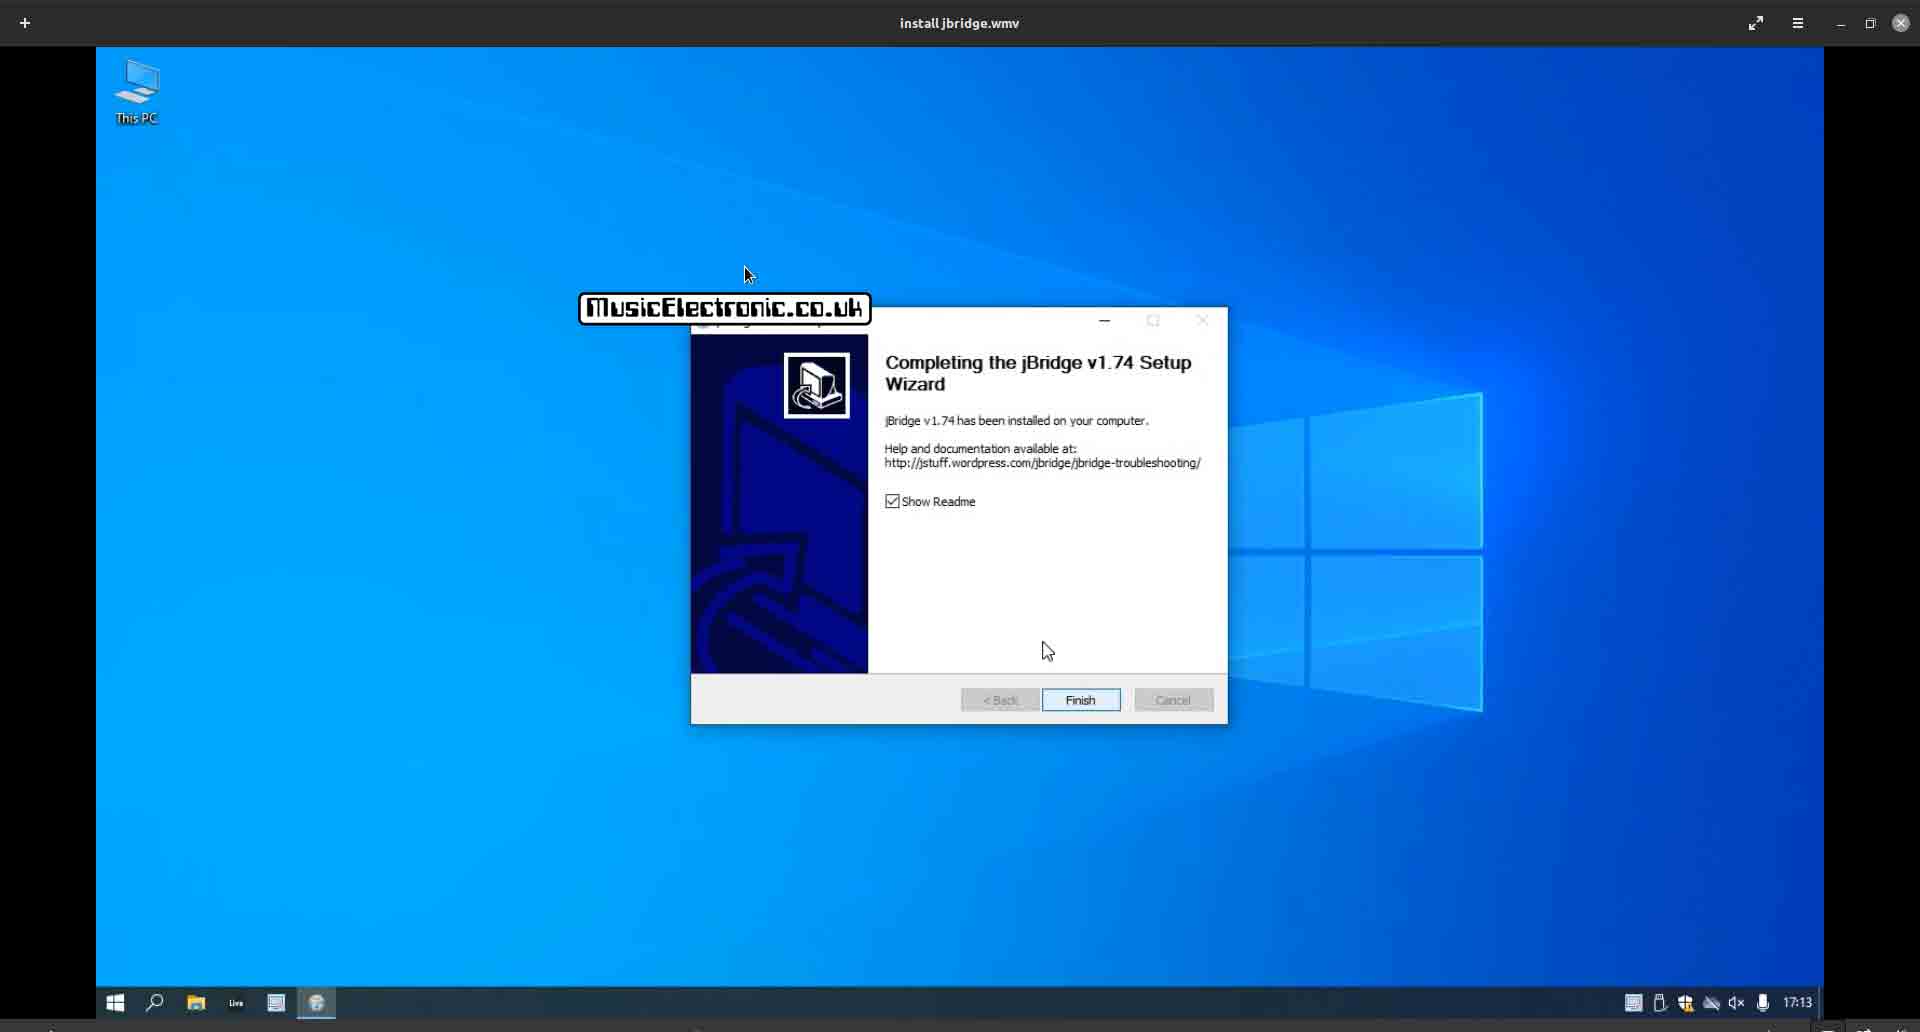
You may encounter some problems because of the Windows operating system. Depending on your machine, if you haven’t got any antivirus software, Windows Defender may think the program is a virus and rather unhelpfully delete it. You’ll then have to go through the various security screens to locate the program and mark it as not dangerous and reinstate it.
I can’t tell you exactly how to do this as it depends on how Windows works this week. It changes from update to update.
If you have antivirus software installed this will probably override Defender but still may delete it if this happens it’s usually more straightforward as the software will tell you and ask if you want to mark it as not dangerous. Don’t you just love Windows!
Incidentally, there are other alternatives to using the Windows operating system and most of them are free.
Running jBridger
Firstly you need to create a couple of folders in documents and call them before and after.

Secondly, install the plugin. As I mentioned I’m using Virsyn Cube 2 here and after it’s installed you can go to the plugin folder and confirm the host (Ableton Live) doesn’t see it.
Close Ableton down and navigate to the document folder this is where you are going to move the VST to. Navigate to where the original 32-bit VST is. In my case, this is the “Steinberg” folder in “Programs” on drive C.
Move this VST as it’s no use where it is and paste it into the “Before” folder you created in “Documents.” Next, run the jBridger program.
This is quite a simple interface and you’ll initially be presented with two options in “Step 1”. Select the second, “I’ll be using a x64 (64-bit) host.”
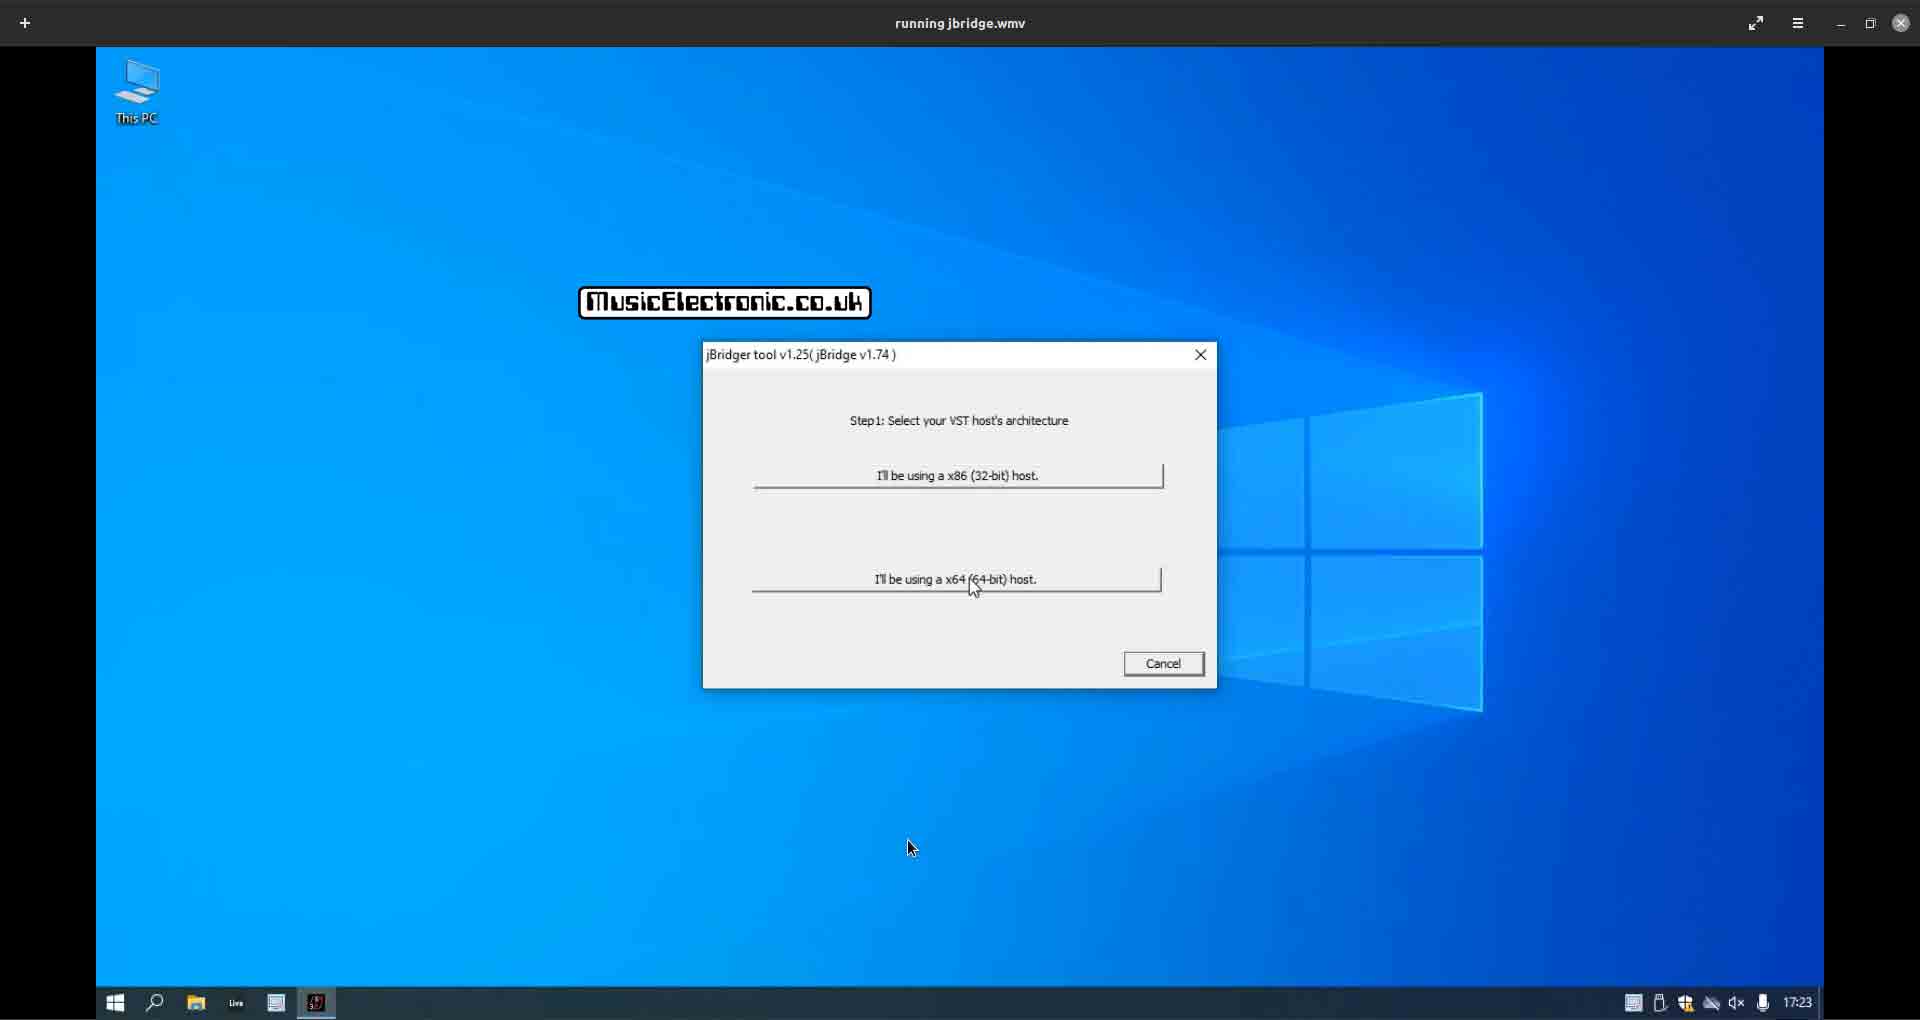
In “Step 2” you’ll get various options and tick boxes. Just leave them at their defaults and click on the option “Create bridging files inside a directory I’ll specify → HIGHLY recommended←”.

Step 3 is to “Select VST plugin(s) to be scanned (a director or single file)” Just navigate to the folder you called “Before” in documents and click “OK”. This will take you to Step 4. This is to “Select destination directory for bridging files.
Just navigate to the folder you called “After” in the documents folder and click “OK”. You will then get a message “Please wait…. Analysing files…”. After a second or so you’ll get the message “1 File(s) bridged for using in your 64-bit VST host (0 sub-directories scanned).

Copy the newly created VST files
Next, I copy the files that jBridger has created. The original VST will still be in the “Before” folder. So I navigate to the “After” folder in documents.
You’ll now see two new files in this folder. “CUBE 64.dll and CUBE 64”. Copy these two files and paste them to the host VST folder. For me here it’s “Steinberg” in the “Programs” folder on drive C. Once the files are in place there you can exit.
Virsyn Cube 2 64-bit running in Ableton Live
Now if you run Ableton Live and navigate to it to the plugins you’ll see a brand spanking new “CUBE 64” listed there.

Open it and you’ll see it has the addition of the jBridge logo in the bottom left corner and a “Settings” option. You now have a working converted VST plugin!
Step by Step:-
1. Download and install jBridge.
2. Create before and after folders.
3. Run jBridge and point the program to your before and after folders.
4. Copy the newly created 64-bit .dll files into your VST folder.
Final thoughts
As you can see if you’ve followed this tutorial it’s not difficult to convert older 32-bit plugins to run as 64-bit ones in a 64-bit host. There are some other applications that will do a similar job.
Some are free and some cost quite a bit more. For the price of a few pounds, I’d sooner just use jBridger as it’s simple and works perfectly for me. I’m still surprised that the manufacturers haven’t provided some support but I’m very happy that jBridger exists and I can now use my old 32-bit plugins.